
Fall is finally here. You need a quick energy boost for busy days. These easy protein bars are your new favorite snack. They are simple and delicious.
You can skip the expensive store options. These bars deliver great flavor and energy. They fit perfectly into your morning routine. You will love how fast they come together.
Why This Recipe Works
This recipe is a total time-saver for busy people. You only need fifteen minutes to prep. There is no oven required at all. This makes it perfect for a healthy reset this season.
The combination of oats and protein is satisfying. You get a dense and chewy texture. The silky almond butter adds a lovely richness. It is a budget-friendly way to stay fueled.
The Easy Process
Making these bars is very straightforward. You mix your dry and wet ingredients separately. Then you combine them into a thick dough. Pressing the mixture firmly is the secret to success. It ensures your bars do not crumble later.
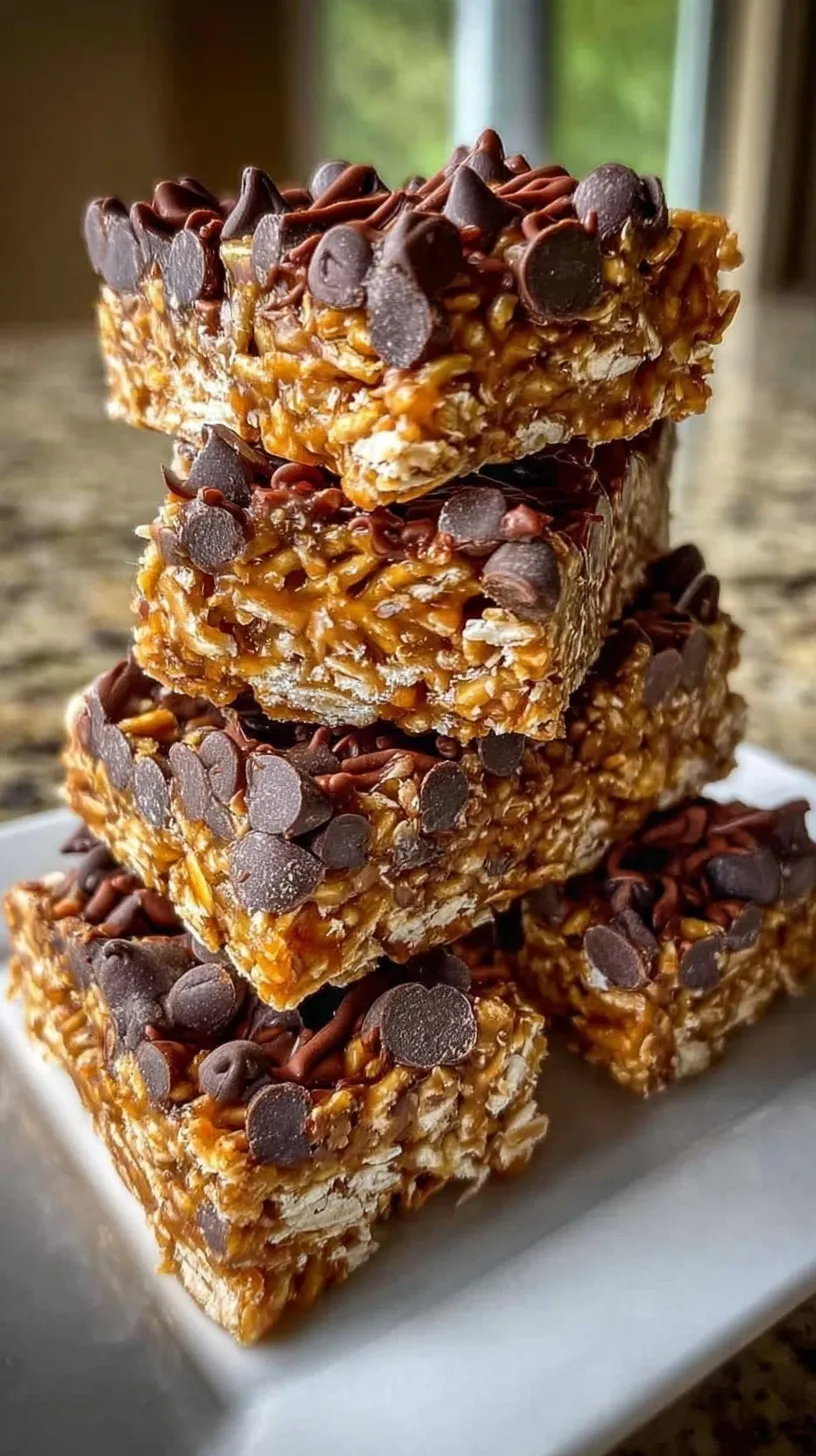
Simple Ingredients
- 2 cups rolled oats
- 1 cup vanilla protein powder
- 1/2 cup creamy almond butter
- 1/4 cup honey
- 1/3 cup unsweetened almond milk
- 1/2 teaspoon vanilla extract
- 1/4 teaspoon fine sea salt
Step-by-Step Directions
- Line an 8×8 inch square baking pan with parchment paper, leaving an overhang on two sides.
- In a large mixing bowl, whisk together the rolled oats, protein powder, and sea salt until thoroughly combined.
- In a separate small microwave-safe bowl, combine the almond butter and honey; heat for 20-30 seconds and stir until the mixture is fluid.
- Stir the vanilla extract into the warm almond butter mixture.
- Pour the wet ingredients into the dry oat mixture and stir with a heavy spatula until a thick, stiff dough forms.
- Add the almond milk one tablespoon at a time if the mixture is too crumbly to hold together; the dough should be moist but not sticky.
- Transfer the mixture to the prepared baking pan and press down very firmly with a flat spatula or the bottom of a glass to ensure the bars are dense and cohesive.
- Refrigerate for at least 1 hour until the mixture is firm to the touch.
- Lift the parchment paper out of the pan and slice into 8 equal rectangular bars with a sharp chef’s knife.
- Store bars in an airtight container in the refrigerator for up to one week.
Best Ways to Enjoy
These bars are excellent for meal prep success. Grab one as you head out the door. Pair it with a crisp apple for crunch. A hot cup of coffee also tastes great. It is the best post-workout treat too.
You can serve these at a fall brunch. They look beautiful on a wooden platter. Your friends will appreciate the healthy choice. They are kid-approved and very satisfying.
Make-Ahead Advice
Keep these bars in the fridge. They stay fresh for seven days. You can also freeze them for longer storage. Just wrap them tightly in plastic wrap. There is no reheating needed for these snacks. Enjoy them cold or at room temperature.
Kitchen Tips
- Don’t skip the parchment paper for easy removal.
- Avoid using chunky nut butter for the best texture.
- Substitute maple syrup if you prefer vegan options.
- Save time by mixing the dry ingredients overnight.
- Add a pinch of pumpkin spice for fall flavor.
- Press the dough very hard to prevent crumbling.
- Use a sharp knife for clean, pretty slices.
- Check the consistency before you stop adding milk.
Easy Swaps
- Use chocolate protein powder for a cocoa twist.
- Swap almond butter for creamy peanut butter.
- Add a handful of mini chocolate chips.
- Try dried cranberries for a seasonal touch.
- Use gluten-free oats for dietary needs.
Common Questions
Can I make these ahead?
Yes, these are perfect for meal prep. You can make them on Sunday. They stay delicious all week long.
What if the dough is too dry?
Just add a little more almond milk. Do it one tablespoon at a time. The dough should be moist.
How do I know they are ready?
They should feel firm to the touch. Chilling for one hour is usually enough. They will slice cleanly then.
I hope these easy protein bars help you tackle your busy fall schedule with ease. They are so simple and truly satisfying for your healthy reset. Enjoy every bite!
— Emily
Ingredients
Method
- Line an 8x8 inch square baking pan with parchment paper, leaving an overhang on two sides.
- In a large mixing bowl, whisk together the rolled oats, protein powder, and sea salt until thoroughly combined.
- In a separate small microwave-safe bowl, combine the almond butter and honey; heat for 20-30 seconds and stir until the mixture is fluid.
- Stir the vanilla extract into the warm almond butter mixture.
- Pour the wet ingredients into the dry oat mixture and stir with a heavy spatula until a thick, stiff dough forms.
- Add the almond milk one tablespoon at a time if the mixture is too crumbly to hold together; the dough should be moist but not sticky.
- Transfer the mixture to the prepared baking pan and press down very firmly with a flat spatula or the bottom of a glass to ensure the bars are dense and cohesive.
- Refrigerate for at least 1 hour until the mixture is firm to the touch.
- Lift the parchment paper out of the pan and slice into 8 equal rectangular bars with a sharp chef's knife.
- Store bars in an airtight container in the refrigerator for up to one week.