Spring is finally in the air. You might be craving something sweet. These Healthier Homemade Cake Pops satisfy every chocolate whim. They feel like a party on a stick.
You get all the nostalgic joy. There is no sugar crash afterward. These treats are perfect for your next gathering. Let’s get baking together.
Why You’ll Love These Cake Pops
Traditional cake pops often rely on heavy frosting. We use creamy Greek yogurt instead. This swap adds protein and moisture. It keeps the centers silky and rich.
Almond flour provides a wonderful nutty base. It makes these pops naturally gluten-free. You will love the deep chocolate flavor here. They are a total crowd-pleaser for your healthy reset goals.
The Easy Process
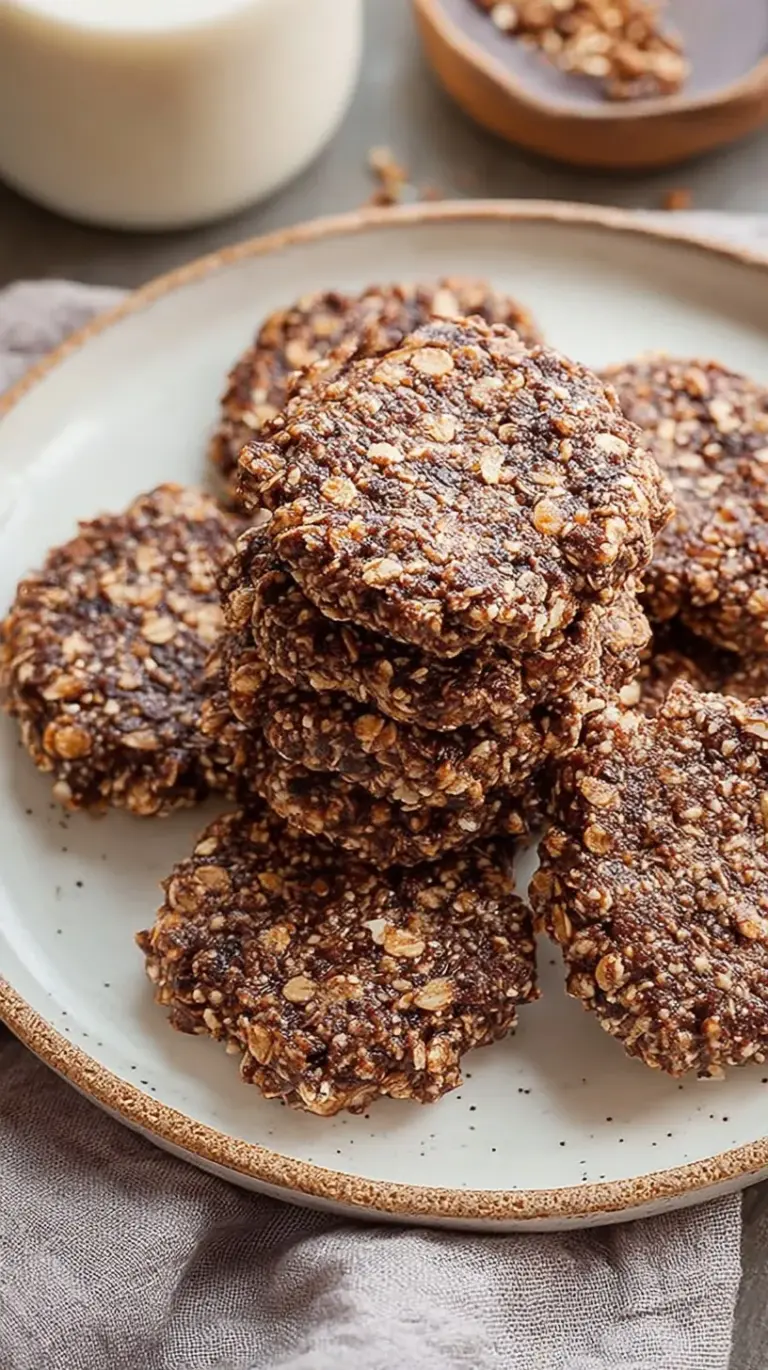
The method is surprisingly simple for beginners. You bake a quick almond cake first. Then you crumble it into fine bits. This part is actually quite therapeutic. You mix in the yogurt binder next.
Rolling the balls is a great activity. You can even involve the kids. The dark chocolate coating sets beautifully. You will feel like a professional pastry chef.
What You’ll Need
- 2 cups almond flour
- 1/4 cup unsweetened cocoa powder
- 1/2 teaspoon baking soda
- 1/4 teaspoon salt
- 3 large eggs
- 1/3 cup pure maple syrup
- 1 teaspoon vanilla extract
- 1/4 cup plain non-fat Greek yogurt
- 1/2 cup dark chocolate chips (70% cacao)
- 1 tablespoon coconut oil
- 20 cake pop sticks
Step-by-Step Directions
- Preheat oven to 350°F (175°C) and grease a 9-inch round baking pan.
- Whisk almond flour, cocoa powder, baking soda, and salt in a medium bowl.
- In a separate large bowl, beat eggs, maple syrup, and vanilla extract until well combined.
- Fold the dry ingredients into the wet ingredients and stir until the batter is smooth.
- Pour batter into the prepared pan and bake for 22 to 25 minutes or until a toothpick inserted into the center comes out clean.
- Allow the cake to cool completely, then crumble it into fine pieces in a large bowl.
- Add Greek yogurt to the crumbs one tablespoon at a time, mixing until a dough forms that can hold a shape.
- Roll the mixture into 20 uniform balls and place them on a parchment-lined tray; freeze for 20 minutes to firm up.
- Melt the dark chocolate chips and coconut oil together in a microwave-safe bowl in 30-second increments until smooth.
- Dip the end of a cake pop stick into the chocolate, insert it into a cake ball, then submerge the entire ball into the chocolate, letting the excess drip off before setting upright to harden.
Best Ways to Enjoy
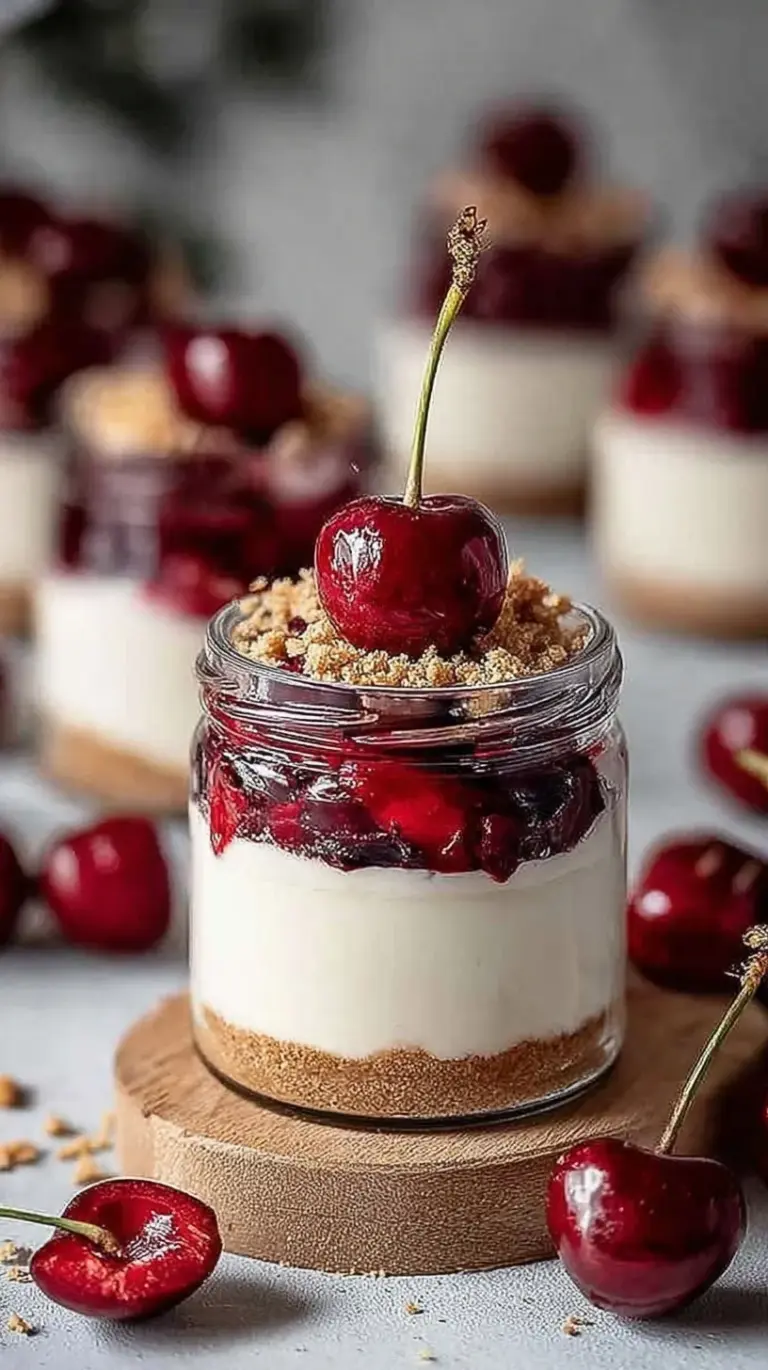
These are stars at any Spring brunch. Place them in a pretty jar. You can also add them to festive Easter baskets. They look lovely next to fresh fruit. Your guests will be so impressed by the flavor.
How to Store Leftovers
Keep these in the fridge for up to five days. Use an airtight container for best results. You can also freeze them for longer. Thaw them in the fridge before serving. They taste chilled and fudgy every time.
Tips for Best Results
- Don’t skip the freezing step before dipping.
- Avoid using too much yogurt at once.
- Substitute honey for maple syrup if preferred.
- Use a block of foam to hold sticks.
- Decorate with pastel sprinkles for Spring vibes.
- Melt chocolate slowly to prevent burning.
- Ensure the cake is completely cool before crumbling.
Make It Your Own
- Add orange zest for a citrus twist.
- Use white chocolate for a bright look.
- Stir in crushed nuts for extra crunch.
- Try a dairy-free yogurt for vegan options.
Common Questions
Can I make these ahead of time?
Yes, you can bake the cake early. Store the cake balls before dipping. They stay fresh for several days. This makes party prep much easier.
How do I know they are done?
The toothpick test is very reliable. It should come out clean or dry. The cake will feel firm. Do not overbake the almond base.
Is this recipe kid-friendly?
Absolutely, children love the portable size. The flavors are very approachable. It is a healthier choice for school parties. Everyone will want a second one.
I hope these bring a little sunshine to your kitchen this Spring. They are such a joy to make and share with loved ones. Happy baking!
— Emily

Ingredients
Method
- Preheat oven to 350°F (175°C) and grease a 9-inch round baking pan.
- Whisk almond flour, cocoa powder, baking soda, and salt in a medium bowl.
- In a separate large bowl, beat eggs, maple syrup, and vanilla extract until well combined.
- Fold the dry ingredients into the wet ingredients and stir until the batter is smooth.
- Pour batter into the prepared pan and bake for 22 to 25 minutes or until a toothpick inserted into the center comes out clean.
- Allow the cake to cool completely, then crumble it into fine pieces in a large bowl.
- Add Greek yogurt to the crumbs one tablespoon at a time, mixing until a dough forms that can hold a shape.
- Roll the mixture into 20 uniform balls and place them on a parchment-lined tray; freeze for 20 minutes to firm up.
- Melt the dark chocolate chips and coconut oil together in a microwave-safe bowl in 30-second increments until smooth.
- Dip the end of a cake pop stick into the chocolate, insert it into a cake ball, then submerge the entire ball into the chocolate, letting the excess drip off before setting upright to harden.