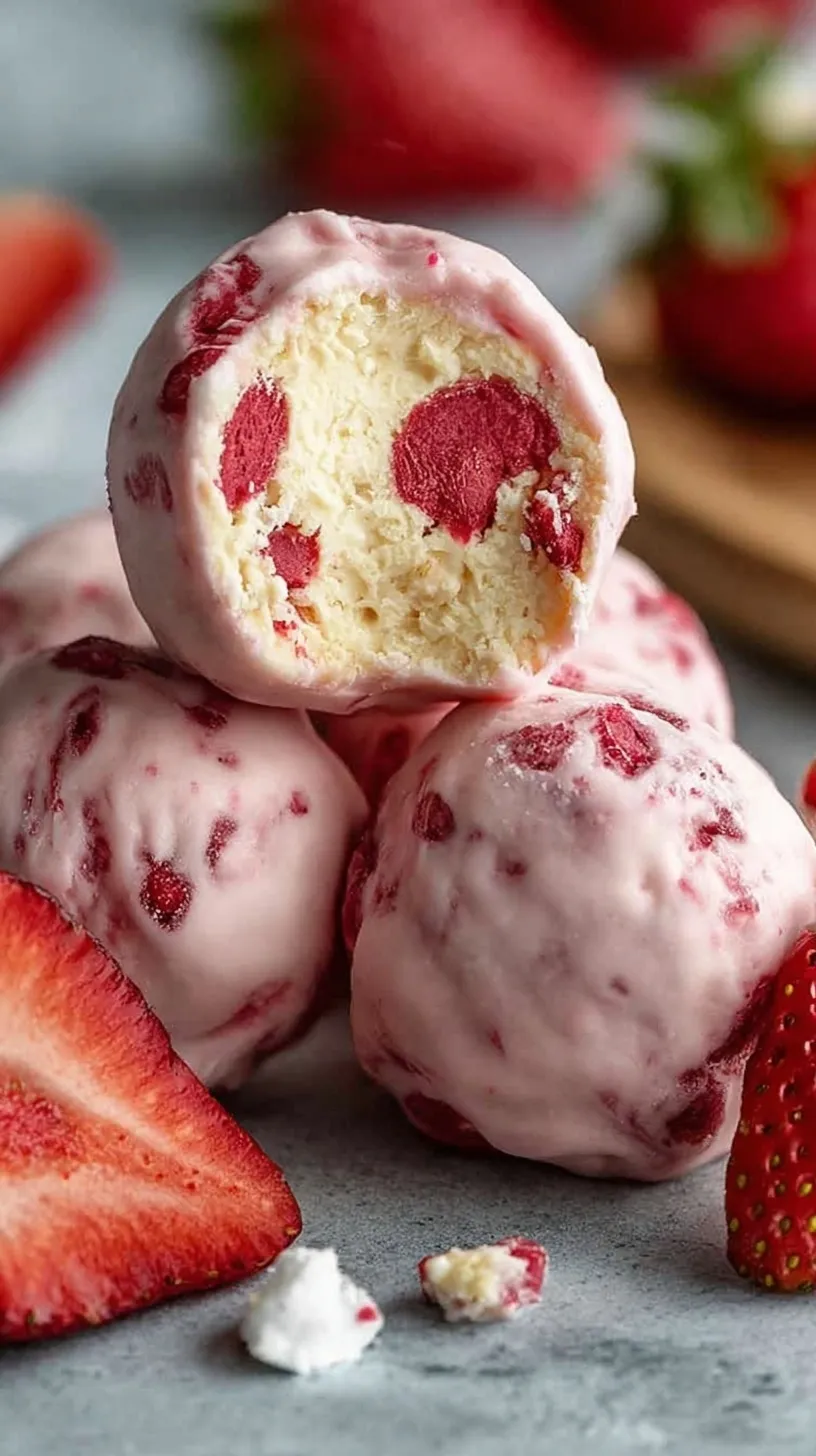
Spring is finally here and your snack game needs a fresh update. You deserve a treat that feels like a decadent dessert but fuels your body. These Strawberry Cheesecake Protein Balls are the vibrant, zesty solution for your busy afternoons.
Imagine the silky texture of cheesecake in a bite-sized, healthy form. They are incredibly easy to whip up in your own kitchen. You will love how these deliver a protein-packed punch without any oven time.
Why You’ll Love It
These little bites are a total game-changer for your spring routine. They offer the perfect balance of creamy cheesecake flavor and bright berry sweetness. You can prep a whole batch in just 15 minutes flat.
They are ideal for a healthy reset after a long weekend. The freeze-dried strawberries provide a concentrated flavor that tastes like pure sunshine. You will find they are the ultimate meal prep snack for your work week.
The Easy Process
Making these snacks is a breeze even for beginner cooks. You simply blend your oats and mix everything in one large bowl. There is no complicated equipment or long waiting times involved here.
The mixture comes together into a soft, pliable dough. You just roll them into balls and let them chill. It is a stress-free method that yields professional-looking results every single time.
Simple Ingredients
- 1.5 cups rolled oats, finely blended
- 60g vanilla whey protein powder
- 0.5 cup freeze-dried strawberries, crushed into small pieces
- 4 oz light cream cheese, softened to room temperature
- 2 tbsp honey
- 1 tsp pure vanilla extract
- 1 tbsp unsweetened almond milk
Step-by-Step Directions
- Pulse the rolled oats in a blender or food processor until a fine flour-like consistency is achieved.
- In a large mixing bowl, whisk together the oat flour, vanilla protein powder, and crushed freeze-dried strawberries.
- Incorporate the softened cream cheese, honey, and vanilla extract into the dry mixture using a spatula.
- Add the almond milk gradually if the dough is too crumbly; the final texture should be pliable and hold its shape when pressed.
- Divide and roll the dough into 12 equal-sized balls, approximately 1 inch in diameter.
- Arrange the balls on a parchment-lined tray and refrigerate for 30 minutes to firm the texture before serving.
Best Ways to Enjoy
Serve these chilled for the most authentic cheesecake experience. They look beautiful served on a bright white platter for a spring brunch. You can even pair them with fresh berries for extra color.
Try them alongside your favorite iced coffee or herbal tea. They make a satisfying midday pick-me-up when you need a boost. Your friends will be impressed by these elegant little treats.
Keep It Fresh
Store your protein balls in an airtight container in the refrigerator. They will stay fresh and delicious for up to five days. This makes them a perfect candidate for your Sunday prep session.
You can also freeze them for a longer-lasting snack option. Simply thaw a few in the fridge overnight before you need them. They reheat beautifully at room temperature for just a few minutes.
Tips for Best Results
- Don’t skip blending the oats into a very fine flour.
- Avoid using fresh strawberries as they will make the dough too wet.
- Use room temperature cream cheese for a perfectly smooth mixture.
- Add the almond milk one teaspoon at a time to avoid sticky dough.
- Roll the balls with slightly damp hands to prevent sticking.
- Refrigerate them for the full 30 minutes to set the texture.
- Elevate the flavor by adding a tiny pinch of sea salt.
Make It Your Own
- Add mini white chocolate chips for an extra indulgent treat.
- Mix in lemon zest for a bright and citrusy spring twist.
- Use dairy-free cream cheese to make these vegan-friendly snacks.
- Roll the finished balls in extra crushed strawberries for a pop of color.
Common Questions
Can I make these ahead of time?
Yes, these are perfect for making in advance. They actually taste better after the flavors meld in the fridge. You can keep them ready to grab all week long.
What if I don’t have a blender?
You can purchase pre-made oat flour at most grocery stores. This saves you a step and ensures a silky smooth texture. Just ensure it is finely ground for the best results.
How do I know the texture is right?
The dough should feel like playdough in your hands. It should not stick to your fingers excessively. If it crumbles, add a tiny splash of milk.
I hope these bright bites bring a little extra joy to your spring meal prep. They are so satisfying and simple to make! Happy snacking.
— Emily
Ingredients
Method
- Pulse the rolled oats in a blender or food processor until a fine flour-like consistency is achieved.
- In a large mixing bowl, whisk together the oat flour, vanilla protein powder, and crushed freeze-dried strawberries.
- Incorporate the softened cream cheese, honey, and vanilla extract into the dry mixture using a spatula.
- Add the almond milk gradually if the dough is too crumbly; the final texture should be pliable and hold its shape when pressed.
- Divide and roll the dough into 12 equal-sized balls, approximately 1 inch in diameter.
- Arrange the balls on a parchment-lined tray and refrigerate for 30 minutes to firm the texture before serving.